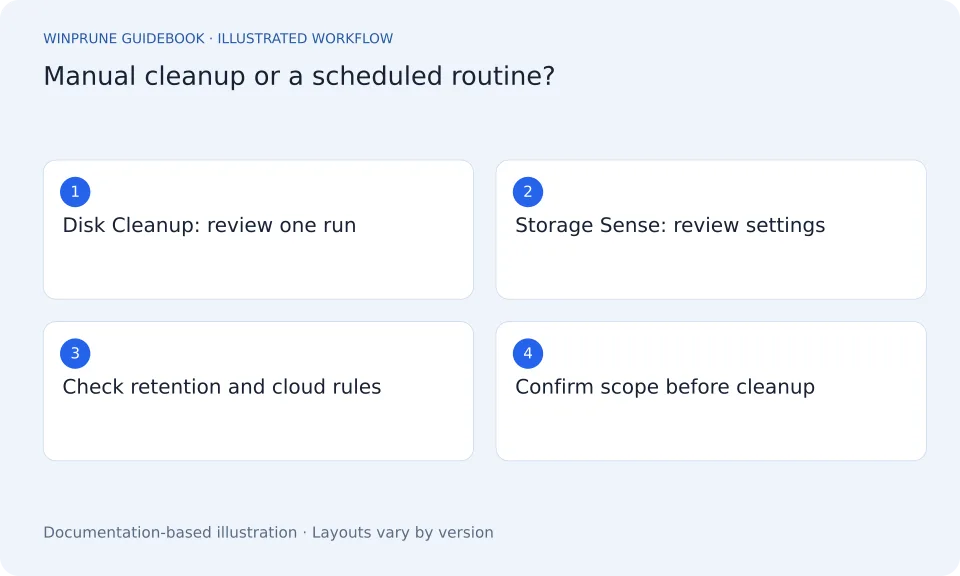
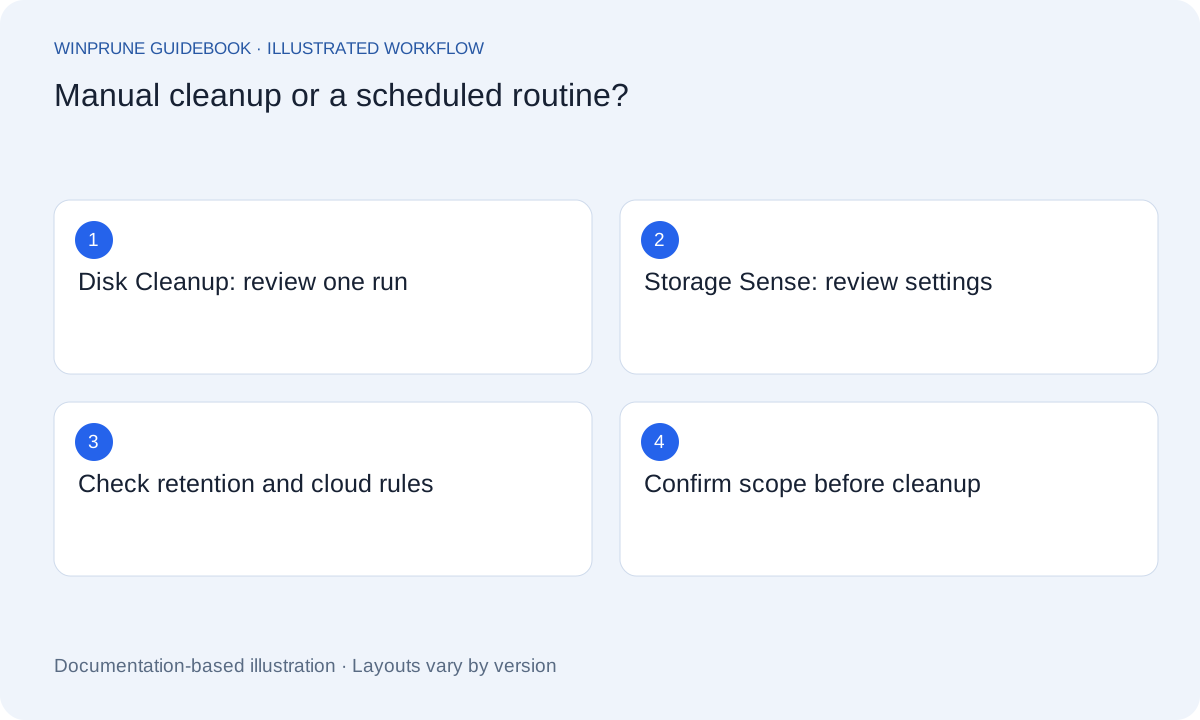
Choose according to the task
Disk Cleanup and Storage Sense compared
| Question | Disk Cleanup | Storage Sense |
|---|---|---|
| How does it run? | You start and review an individual run | You configure when automatic runs happen |
| Which drive? | Select the drive when prompted | Operates on the system drive |
| What should I review? | Selected cleanup categories and system-file options | Temporary files, Recycle Bin, Downloads and cloud settings |
| Does it find every large file? | No; it offers supported cleanup categories | No; use file review for large personal data |
| When does it fit? | A deliberate, one-off cleanup | An understood recurring routine |
For a one-off review, start with Disk Cleanup. For ongoing maintenance, inspect Storage Sense settings before turning it on. Downloads and cloud-retention settings deserve separate attention; do not assume the default choices match your needs.
Microsoft documents Storage Sense scheduling, the system-drive boundary, and personal-file retention options. Read the Microsoft instructions.
If you want to inspect a cleanup once, a manual tool provides a useful checkpoint. If you want a recurring routine, Storage Sense provides scheduling and retention controls. The better choice is the one whose scope you understand, not the one that estimates a larger amount of space.
A deliberate cleanup with Disk Cleanup
- Search Start for Disk Cleanup and open the Windows tool.
- If prompted, select the drive you intend to clean.
- Read the available file categories and their descriptions before selecting them.
- System-file cleanup may ask for administrator permission. Review the list again if additional categories appear.
- Confirm only after checking which recovery options or files the selected categories remove.
A reported cleanup size is an estimate of the selected categories, not a promise of permanent free space. Windows and applications can create new working files later. Do not infer that an unfamiliar category is disposable merely because the tool offers it.
A recurring routine with Storage Sense
Open Settings → System → Storage and select Storage Sense to inspect its options. Microsoft describes it as a system-drive feature. Review when it runs, temporary-file handling, Recycle Bin retention, and any Downloads or cloud-content settings.
Compare scope before comparing results
- Manual versus recurring: will you review this run, or have you configured future runs?
- Drive: are both reports describing the same volume?
- Categories: are they offering the same data, or different kinds of cleanup?
- Recovery: will an action permanently remove files or a rollback option?
Check after the first run
Record free space before and after. Inspect the result without enabling more categories just to chase a number. If a scheduled routine removes something unexpectedly, stop and review its configuration before the next run.
Use cleanup tools for supported cleanup. They do not answer every question about large personal folders, active projects, or installed apps. When those are the source of the problem, first decide what is useful, then choose the appropriate file-management or uninstall action.
Sources & further reading
Windows instructions checked against the official documentation linked here. Controls can vary by Windows version and device configuration.
Put your storage knowledge into practice.
Explore WinPrune and check the current download status. The installer and verified application instructions are still being prepared.
Explore WinPrune Download status WinPrune Pro · $15.99 USD · One-time payment. No recurring billing.