Why a deleted file can still take space
When a file is moved to the Recycle Bin, its contents can remain on the drive so the normal restore action can bring it back. This is useful for correcting mistakes, but it can explain why free space changed less than you expected after deleting large personal files. The bin is a place to review, not an automatic guarantee of safety.
Restore an item before you clear the bin
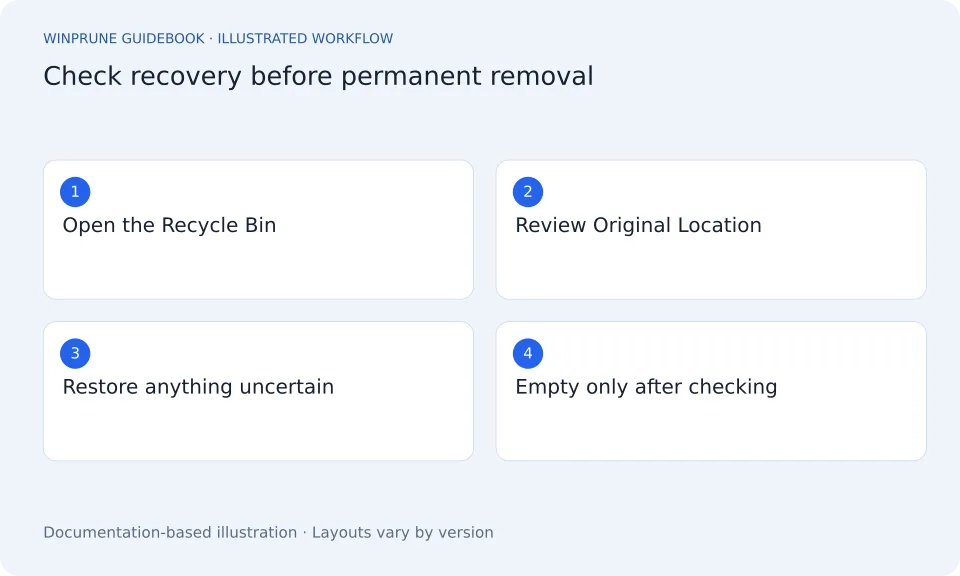
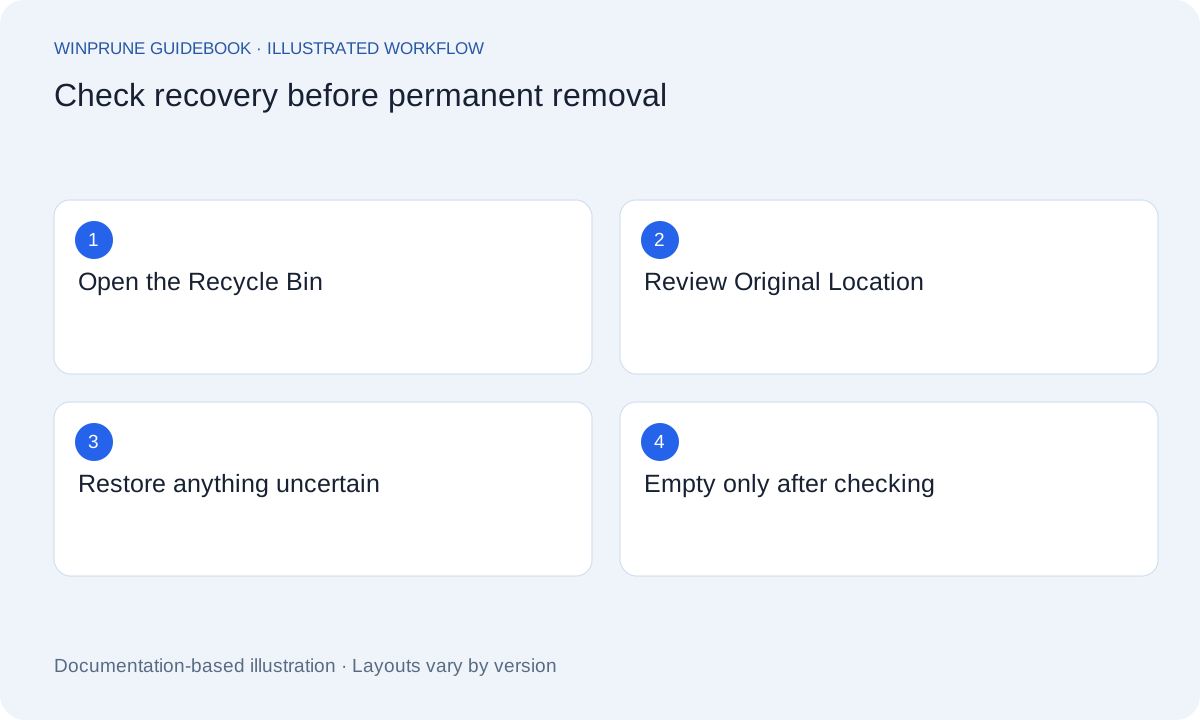
- Open Recycle Bin from the desktop or locate it through Windows search.
- Choose Details view and inspect Original Location, Date Deleted and Size.
- Select an item you still need, open its context menu and choose Restore. Check that it returns to the expected location.
- Review the remaining items. Empty Recycle Bin only when you intend to remove their normal restore route.
If the original location belongs to a synced folder, inspect its cloud recovery state too. Do not empty the local and online recovery bins together as an experiment.
Microsoft’s free-space guidance explains why Recycle Bin contents can retain disk usage. Read the Microsoft instructions.
Check what you are about to remove
Open the Recycle Bin and review the names, deletion dates, sizes, and original locations. The original location can help you distinguish a disposable download from a document that belonged to an active project. If you are unsure, restore the file and investigate it in its normal context before deciding again.
- Review the largest items and their original locations.
- Restore files you still need or cannot confidently identify.
- Check independent backups for important work.
- Remove only the reviewed items you intend to make permanent.
Do not assume every deletion uses the bin
Some deletion methods bypass the Recycle Bin. Network paths, removable media, and files too large for the configured bin can also behave differently. Read the confirmation Windows presents. A guide about the Recycle Bin cannot establish that every file you deleted is still waiting there to be restored.
Keep cloud recovery separate
A cloud-synced deletion may have effects beyond this PC. OneDrive has its own web recovery controls and account-dependent retention behavior. Review the service documentation as well as the local Recycle Bin when synced files are involved. Do not clear multiple recovery locations at once just to make all storage numbers look smaller.
Check the drive after your review
Measure free space on the drive that originally held the files. If you need to recover a missing file after permanent deletion, minimize new writes to that device and follow Microsoft’s recovery guidance or a suitable professional process. If the bin was small, return to Windows storage categories and investigate the next large area. Repeating permanent cleanup on unrelated folders is not a useful substitute for understanding what occupies the disk.
Sources & further reading
Windows instructions checked against the official documentation linked here. Controls can vary by Windows version and device configuration.
Put your storage knowledge into practice.
Explore WinPrune and check the current download status. The installer and verified application instructions are still being prepared.
Explore WinPrune Download status WinPrune Pro · $15.99 USD · One-time payment. No recurring billing.