WinPrune
A storage analyzer (also spelled storage analyser, and often called a disk space analyzer or disk usage analyzer) scans a drive and shows where the space goes. Instead of opening folders one at a time in File Explorer, you see the whole drive at once, sorted or drawn by size. That makes it much faster to find the few large folders that explain a full drive.
What does a storage analyzer for Windows do?
Every storage analyzer does the same basic job: it measures the size of every folder and file on a drive, then presents the results so the biggest items stand out. Most tools offer one or more of these views:
- A folder tree sorted by size, so you can expand the largest folder at each level.
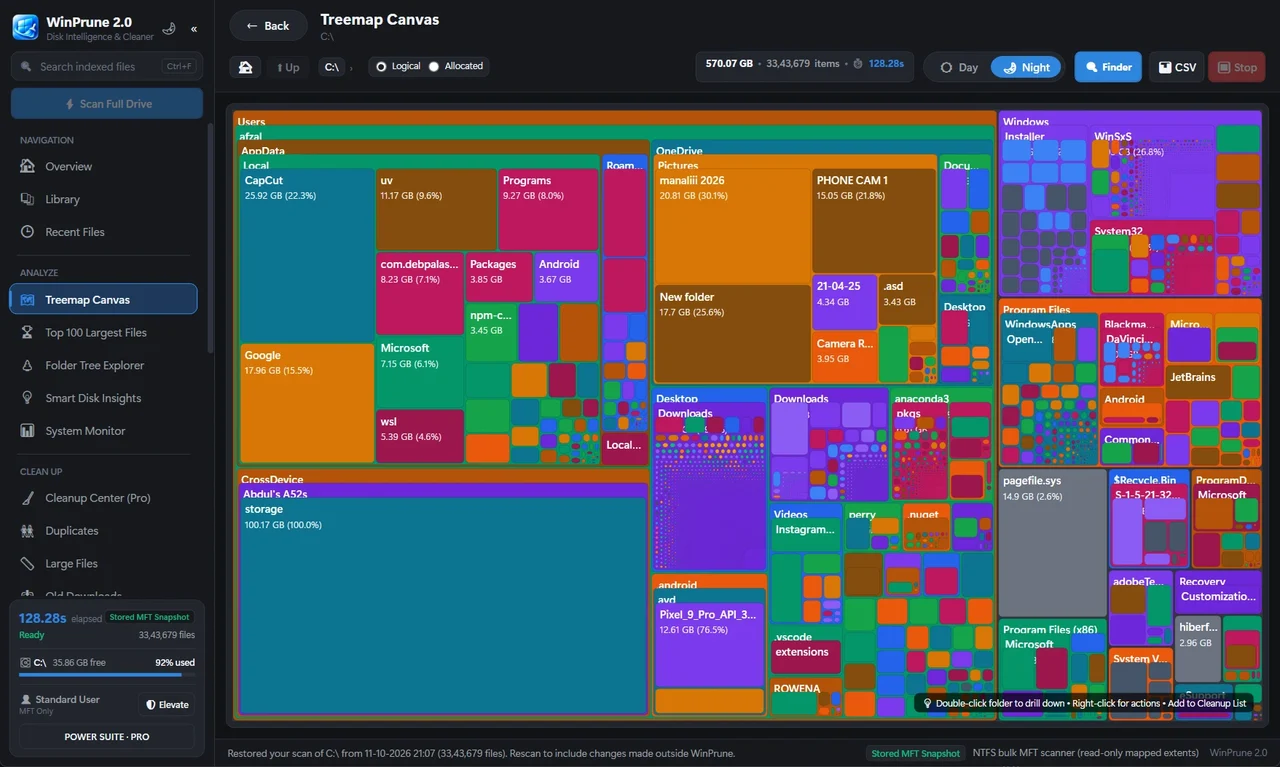
- A treemap, where each folder or file is a rectangle sized by the space it uses.
- A list of the largest files on the drive.
- A breakdown by file type, such as videos, images, archives or installers.
An analyzer answers “what is using my space?”. It does not decide what is safe to delete. That decision still depends on what the file is, which program owns it, and whether you have a copy elsewhere.
Does Windows 11 have a built-in storage analyzer?
Yes, in a limited form. Open Settings → System → Storage to see how much space is used by categories such as apps, temporary files, documents and pictures. Select a category to see more detail, and use Cleanup recommendations to review temporary files, large or unused files, and apps you rarely use. Windows 10 has the same page under Settings → System → Storage.
The built-in view groups data into categories rather than showing every folder on the drive. If a large amount of space sits in “Other”, in a single project folder, or inside an application data folder, a dedicated storage analyzer shows it much more directly.
Which free storage analyzers work on Windows 11 and 10?
The table below compares the built-in Windows view with three free analyzers. Details for third-party tools are taken from each tool’s own website, so check the current version before you install.
| Tool | How it reads the drive | How it shows space | Price |
|---|---|---|---|
| Windows Storage settings | Built into Windows | Categories and Cleanup recommendations | Included with Windows |
| WinPrune | Reads the NTFS Master File Table directly | Treemap storage map, live system stats; Pro adds largest files, duplicates and cleanup tools | Free; Pro is $15.99 USD one-time |
| WizTree | Reads the Master File Table directly, according to its website | Visual views of large files and folders | Free for personal use, according to its website |
| WinDirStat | Scans drives, folders and network shares | Directory tree, file extension list and a coloured treemap | Free and open source |
Why are some storage analyzers much faster than others?
On an NTFS drive, Windows keeps a record of every file in the Master File Table, including its name, location and size. An analyzer that reads the Master File Table directly can total up a drive without opening each folder in turn, which is why tools that use this method can scan millions of files in about a minute. Reading the table requires administrator permission, so these tools ask for it when you start a scan.
Analyzers that walk through folders one by one work on more kinds of storage, such as network shares, but usually take longer on a large drive. Speed matters less than accuracy and safety: any of these tools will show you the same large folders in the end.
How do you analyze storage with WinPrune?
- Download WinPrune-Setup.exe from the WinPrune download page and run the installer. No admin rights are needed to install.
- Open WinPrune from the Start menu and click Scan. Allow administrator permission so it can read the NTFS Master File Table.
- Look at the treemap. The largest blocks are the folders using the most space. Double-click a folder to drill into it.
- Note what you find before changing anything: the folder path, which program it belongs to, and whether you still need it.
The scan, the treemap storage map and live stats are free. WinPrune Pro adds the largest-files view, the duplicate finder and the Cleanup center, which moves the files you choose to the Recycle Bin so you can restore them.
Ready to see your own drive? Download WinPrune free.
What should you check before deleting what an analyzer finds?
- Leave pagefile.sys, hiberfil.sys and swapfile.sys alone. Windows manages them, and they shrink or disappear only through system settings.
- Do not delete from C:\Windows, C:\Windows\WinSxS, C:\Windows\Installer or C:\Program Files. Uninstall apps from Settings instead.
- Check whether a large folder is synced to OneDrive or another cloud service before removing it, because deletions can sync to other devices.
- Prefer tools that move files to the Recycle Bin, and review the Recycle Bin before you empty it.
Which storage analyzer should you choose?
- For a quick look at categories and Windows cleanup suggestions, start with Settings → System → Storage.
- For a fast, visual map of an NTFS drive on Windows 11 or 10, use an analyzer that reads the Master File Table, such as WinPrune or WizTree.
- For network shares or an open-source tool, WinDirStat is a long-standing option.
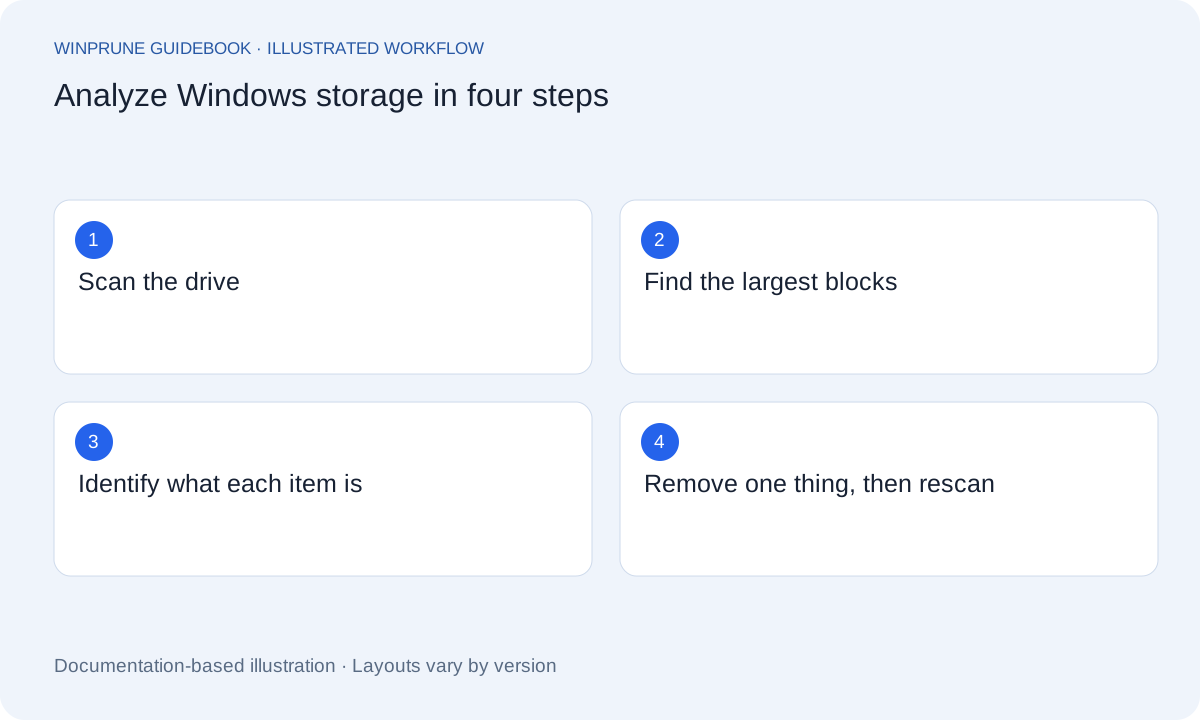
Whichever tool you use, the habit is the same: find the largest areas, understand what they are, keep what matters, then remove one thing at a time and scan again to measure the result.
Sources & further reading
Windows instructions checked against the official documentation linked here. Controls can vary by Windows version and device configuration.
Put your storage knowledge into practice.
Download WinPrune free for Windows 10 & 11, scan your drive, and see where your space goes.
Explore WinPrune Download free WinPrune Pro · $15.99 USD · One-time payment. No recurring billing.